Should you restore a photo before you animate it?
Creases, foxing and a colour cast are not cosmetic problems to an animation model, they are the picture. What restoring first actually buys you, and the one case where it will not help.
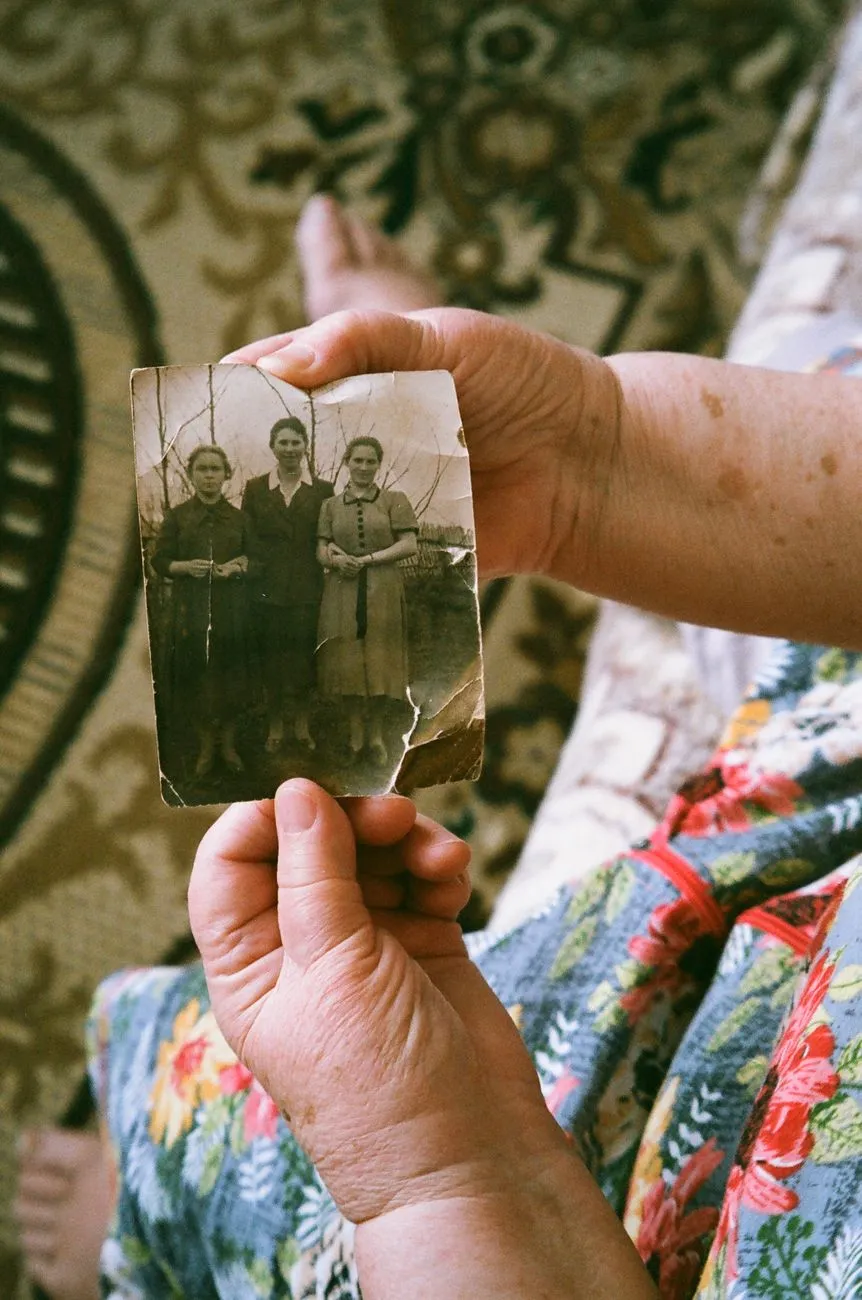
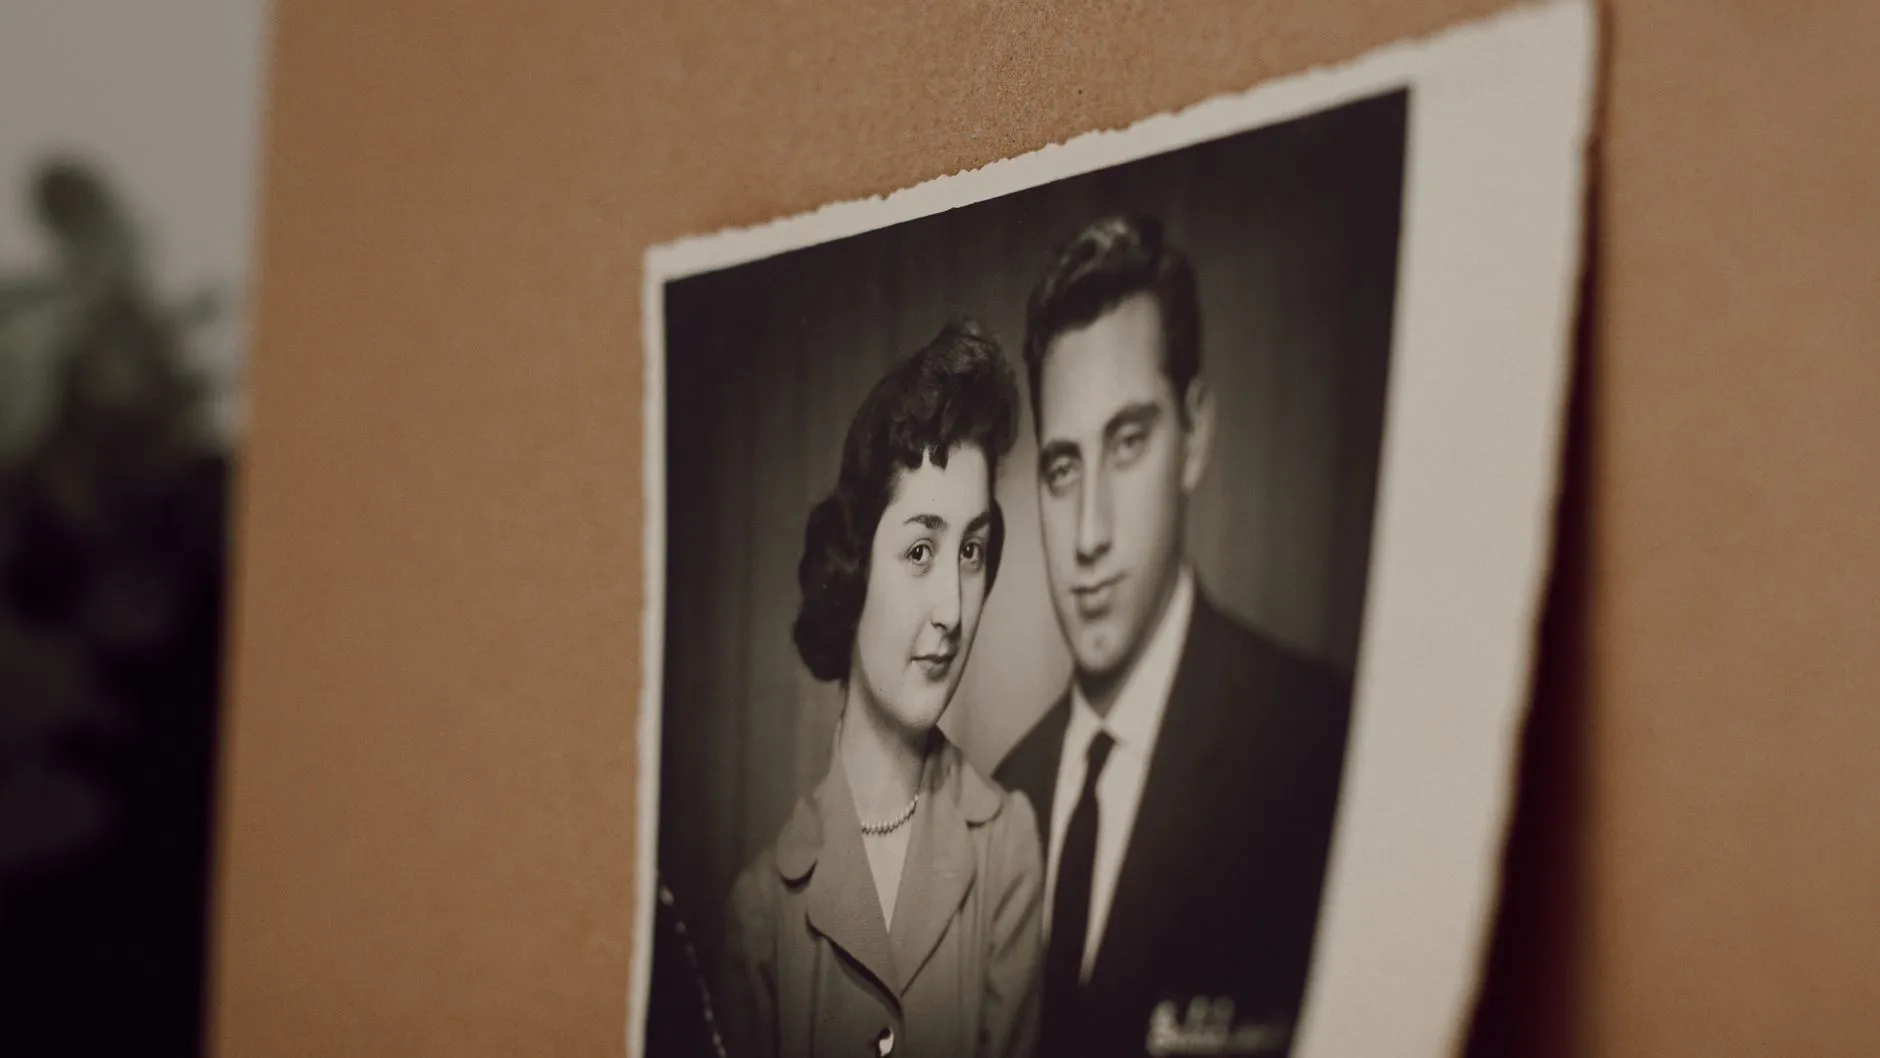
A crease is not a cosmetic flaw once a photograph goes into an animation model. It is a line in the image, and the model has no way to know it was not supposed to be there. It will move with the rest of the picture, sometimes stretching as a face turns, sometimes sitting oddly still while everything around it shifts. The same is true of foxing, the brown spotting that turns up on old prints, and of the orange or yellow cast that decades in a drawer leave behind. None of it reads as damage to the model. All of it reads as picture.
That is the whole case for restoring first. Not because a clean photograph is nicer to look at, though it is, but because the model cannot separate what happened to the print from what happened in front of the camera. Whatever is in the scan is what it works with.
What damage actually does once the frame starts moving
A still photograph can carry a crease without much cost. Your eye edits it out automatically, the way it edits out a scratch on an old photo or a spot of dust on a lens. A generated clip does not get that courtesy. The crease is a real edge in the image, and real edges are exactly what an animation model tracks as it works out how a face or a body should move.
The result is not usually dramatic. It rarely wrecks a clip outright. What it does more often is quietly amplify: a faint line becomes a slightly more visible one as the frame around it moves, a patch of foxing near the jaw drifts in a way that draws the eye, a colour cast that looked like nostalgia in the still photograph reads as a flatter, duller clip once it is moving. None of this looks like a technical error. It looks like the animation is a bit worse than the photograph, which is a harder thing to notice and a harder thing to fix after the fact.
The order that actually matters
Restoration only pays off if it happens in the right sequence, and the sequence is worth stating plainly because skipping a step is the easy mistake to make.
Scan the original print. A flatbed scanner at a reasonable resolution is the gold standard, but a phone held flat and square over the print, in even light with no flash, is a workable second choice. What you are avoiding is a photograph of a photograph: a picture taken at an angle, with glare across the surface and the room’s own lighting mixed into the colour. That adds a second layer of problems on top of whatever the print already had.
Repair the scan, not the print. Everything from here happens on a digital copy. Straightening a skewed scan, removing a crease, correcting a colour cast, these are all edits to the file, and they should never touch the physical print, which is worth keeping exactly as it is.
Animate the repaired file. This is the step people get backwards. It is tempting to animate the print first, on the theory that you can always fix a bad result later, but there is no fixing a clip after the fact. Whatever went into the generation is what came out of it. Repair the scan, save it, and animate that file.
Our sister site walks through the repair step itself in more depth, including how to restore a torn photograph if any of the prints you are working from are in pieces. That is the right place to start once you know which print needs the work.
Where restoring will not help
Restoration fixes what happened to the photograph after it was taken. It does not fix what happened at the moment it was taken. If a face is soft because the shot was out of focus, or because the person moved during a long exposure, repairing the scan will not sharpen a detail that was never captured. You will get a cleaner version of a soft photograph, and the animation of a cleaner version of a soft photograph is still a soft one.
It is worth checking which problem you actually have before spending time on repair. Zoom into the face at full size on the scan. If the edges of the eyes and the line of the jaw are reasonably distinct, damage around them, a crease, a stain, a colour cast, is worth fixing. If the face itself is a soft blur even at full zoom, no amount of repair on the surrounding print will change that, and the time is better spent picking a different photograph if one exists.
What this buys you in practice
For a print with real damage, a decent repair pass is not a large undertaking, and the difference in the animated result is usually noticeable rather than subtle. A straightened, evened-out, crease-free scan gives the model a cleaner shape to work from, and waving or laughing, the two smallest and most forgiving movements in the library, tend to show the improvement most clearly, because there is so little else happening in the clip to distract from it.
The honest expectation to hold onto through all of this: the model is generating a plausible few seconds of movement from one still frame, and a cleaner frame gives it a better starting point, not a different kind of result. Restoration narrows the gap between the photograph and the clip. It does not close it.
If the photograph is heading toward a reunion or a family gathering rather than a quiet save on your own phone, animating old family photos for a reunion or milestone birthday covers the rest of that process, from which prints out of the box are worth the effort to the pacing of showing several clips in one sitting. And if you are still deciding which photograph to start from in the first place, the full checklist for choosing a photo that will animate well is the piece to read first.
Common questions
- Do I need to restore a photo before animating it?
- Not always, but if the print has a crease, foxing, a torn corner or a heavy colour cast, restoring first genuinely changes the result. The model treats damage as part of the picture and carries it into every frame it generates, sometimes stretching or shimmering as the frame moves. A clean scan of an undamaged photograph does not need this step at all.
- Can I just photograph the print instead of scanning it?
- You can, but it adds problems a scan avoids: glare off the surface, a slight angle that skews the rectangle, and whatever light was in the room at the time showing up as a colour cast. A flatbed scan, or a phone held flat and square in even light with no flash, is the more reliable starting point.
- Does restoring a photo help if the face was never sharp?
- Not much. Restoration repairs damage that was added after the photo was taken, creases, fading, a colour shift. It cannot add detail that the original exposure never captured. If the face itself is soft because of how the photo was shot, repair will clean up the picture without changing how the animation turns out.
- What order should I actually do this in?
- Scan the original print, repair the scan, then animate the repaired file. Keep the untouched scan and the original print as well. Never animate a photograph of the print taken on a table, and never animate the repair pass directly without keeping a copy of what you started from.