What Happens When You Animate a Black and White Photograph
Black and white is not the obstacle people assume it is. What the model actually reads in a monochrome photo, when colourising first helps, and when it only adds a second layer of invention.
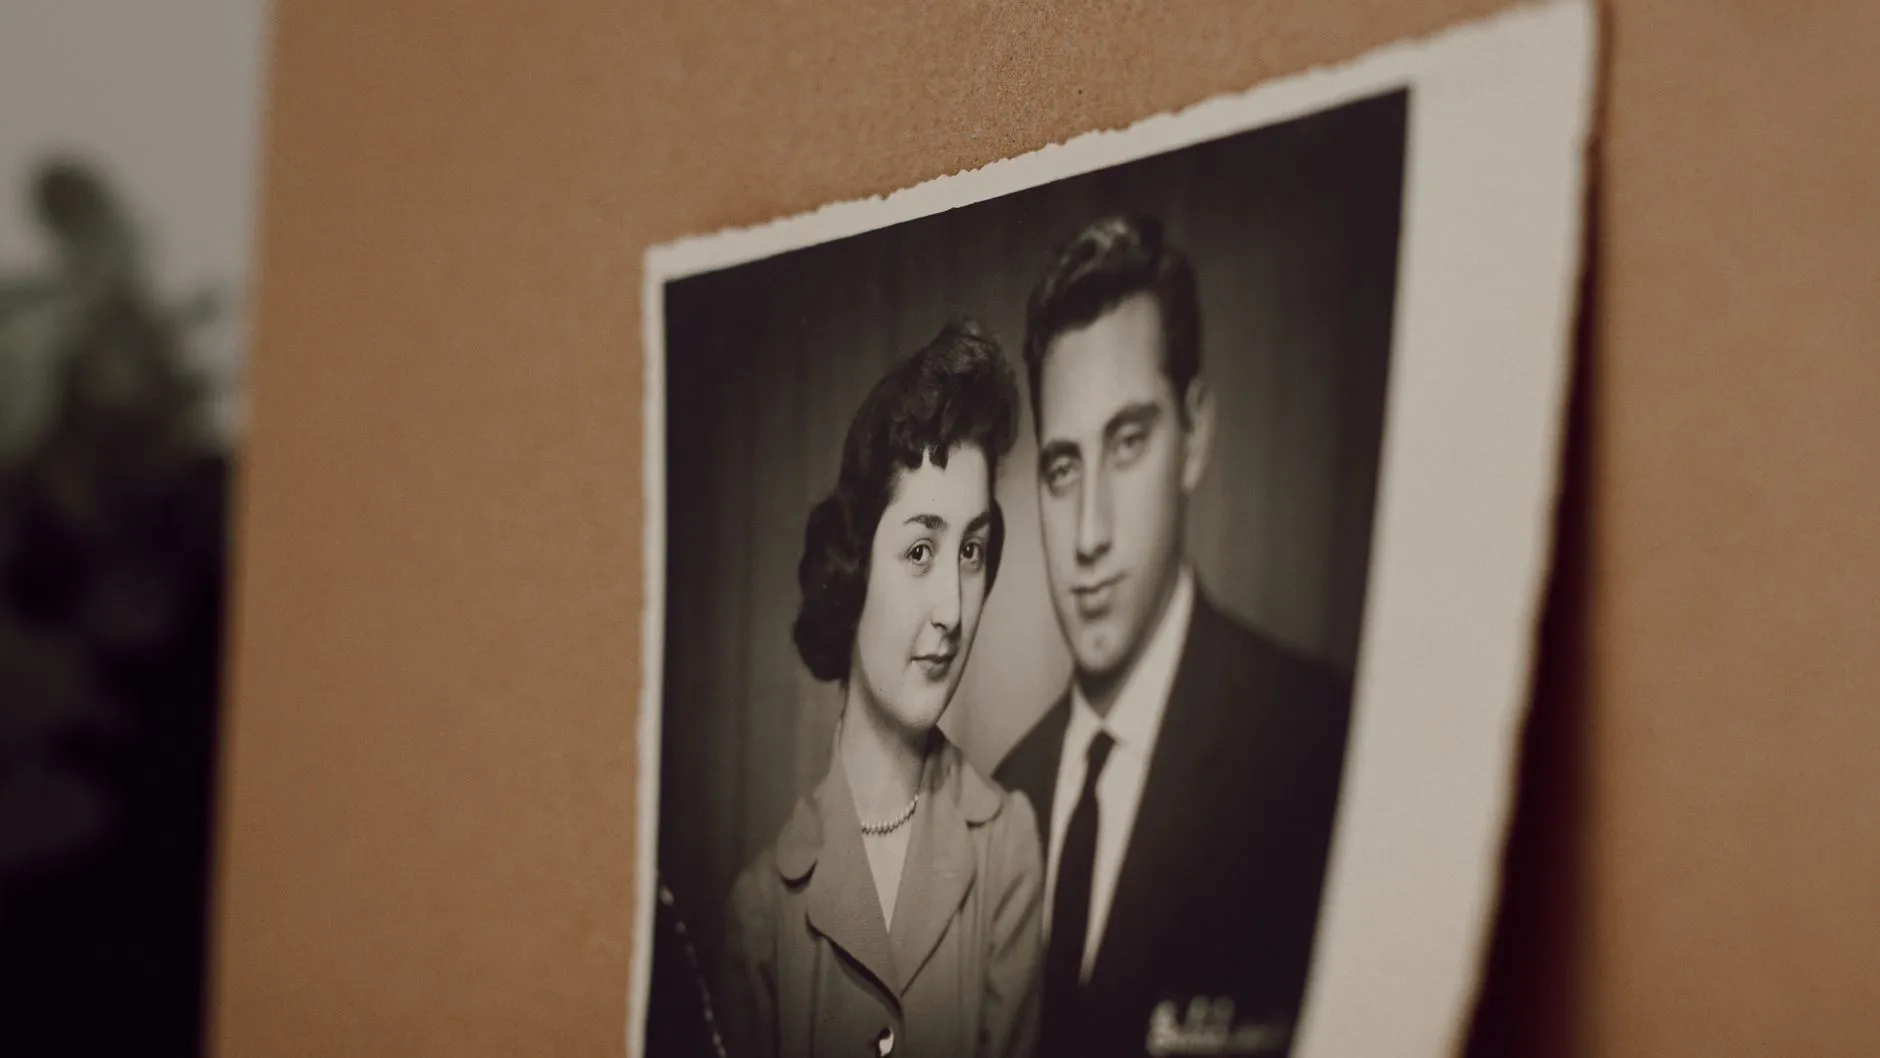
“Will a black and white photo even work” is a fair question to ask before spending a generation on it, and the honest answer is that colour was never the thing the model needed. It is worth saying that plainly up front, because the assumption behind the question, that monochrome is somehow a lesser or harder starting point, is not true, and it is the assumption driving most of the searches that land on this page.
Colour is not what the model is reading
An animation model works out the shape of a face, the direction of the light across it, and where a person’s outline sits against the background. None of that depends on colour information. A monochrome photograph carries exactly the same shape, light and outline as a colour one, just without a colour channel attached to it. If anything, a clean black and white print sometimes gives a slightly clearer read on contrast and edge than a colour photo shot in flat light, because there is no colour noise sitting on top of the tonal information.
What actually decides whether a photo animates well has nothing to do with whether it is monochrome. It is the same list that applies to any photograph: is the face sharp enough to read the eyes, is the light even rather than harsh from one side, is the crop wide enough to include whatever has to move. The full checklist for choosing a photo that will animate well covers that ground in detail, and none of it changes for a black and white source image.
The real question underneath it
Most people who type “animate black and white photo” are not actually asking whether it will work. They are asking a quieter second question: should I colourise it first. That is a more useful question to answer honestly, because the two options are not equivalent.
Colourising a photograph is itself a generative step. A colourising tool has never seen the actual colour of the coat in the photograph, the actual shade of someone’s hair, the actual paint on the wall behind them. It produces a plausible set of colours, the same way an animation model produces plausible motion from a still frame. Doing both in sequence, colourise and then animate, means stacking two separate acts of invention on top of the original photograph. The clip that comes out is further from the actual moment that was photographed than either step would be on its own.
That is not a reason to avoid colourising. Plenty of people prefer the warmer, more casual feel a colourised clip has, especially for something being sent to family who will watch it once and move on rather than study it. It is a reasonable choice. It is just not a free one, and it is worth making with the trade-off in mind rather than assuming colour is simply an upgrade.
Grain and print texture behave differently once the frame moves
Old black and white photographs usually carry one of two kinds of texture, and they are worth telling apart, because only one of them is a problem.
Film grain, the fine, fairly random speckling you get from an actual negative, tends to read as surface texture once the clip is moving, closer to the texture of skin or fabric than to a real edge in the picture. It rarely causes visible trouble, and heavy grain from a genuinely old negative can even help disguise the small imperfections that show up in any generated clip.
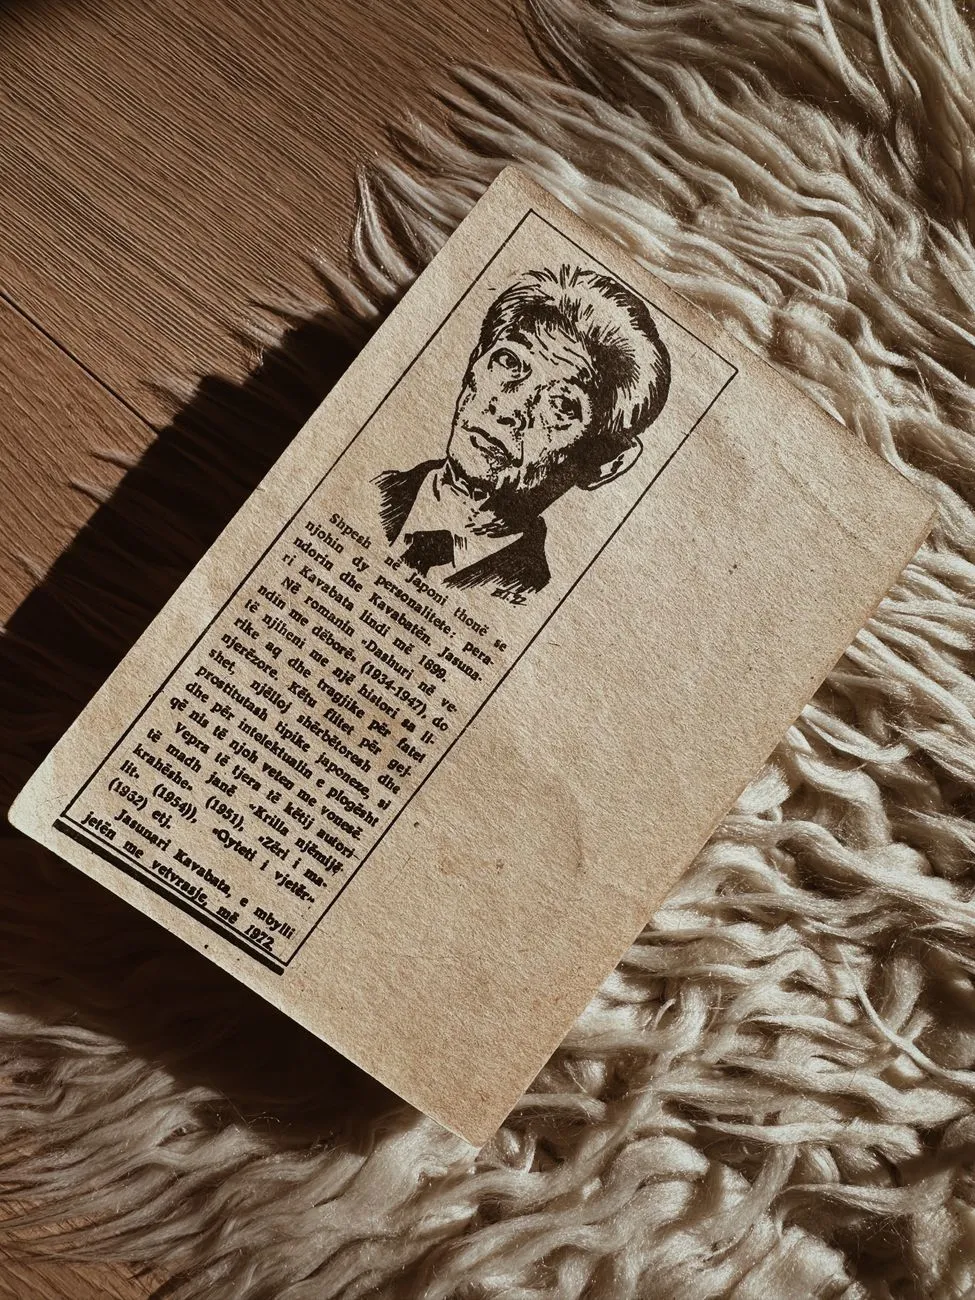
Actual damage is a different thing entirely, and it is easy to confuse with grain at a glance. A crease, a tear, a patch of foxing or a hard scratch reads to the model as a real edge in the photograph, the same way it does in a colour print, and it will move with the rest of the image in a way that can look strange once the frame is animated. If a print has that kind of damage rather than ordinary grain, it is worth repairing before you animate it. Our sister site has a practical guide to restoring an old or damaged photo, and the short version carries over directly here: fix the scan, not the print, and animate the repaired file.
What to actually do with a black and white photo
Given an old monochrome photograph you want to animate, the order that causes the fewest surprises is straightforward. Check it against the usual suitability points first, sharpness, light, crop, since none of those change because the photo has no colour. If the print has real damage rather than just grain, repair the scan before you animate it. Decide separately, and deliberately, whether you want to colourise, understanding that it is an extra layer of invention rather than a neutral improvement. If you do colourise, do it to the still photograph and animate that file, since trying to add colour after the clip exists is a much harder and less reliable process than colourising one frame.
A close, evenly lit portrait crop is the easiest place to start if you are testing this on an old family photograph. Waving and reading both ask very little of the model, small movements from a mostly still frame, which makes them the fairest test of what a monochrome print can do before you try anything more ambitious.
The honest expectation to hold onto either way: the model is generating a plausible few seconds of motion from one still frame, and that is exactly as true of a black and white photograph as it is of a colour one. Monochrome was never the limiting factor. What the photograph actually shows, clearly and evenly lit, always was.
Common questions
- Does a black and white photo animate differently than a colour one?
- Not in any way that matters. The model is working out shape, edge and the light across a face, and all of that is present in a monochrome photograph exactly as it is in a colour one. A well exposed, evenly lit black and white portrait animates about as readily as a colour photo of the same quality. Crop, sharpness and lighting decide the result, not the presence or absence of colour.
- Should I colourise a photo before animating it?
- You can, but it is worth knowing what you are trading. Colourising is itself a generative step, since the model deciding the animation and the tool deciding the colours are both inventing something that was not recorded. Stacking two rounds of invention moves the result further from the actual photograph than either one alone. Plenty of people still prefer the warmer, more casual feel of a colourised clip, and that is a reasonable choice. It is just not a free one.
- Does film grain cause problems when animating an old photograph?
- Usually not much. Grain is fine and fairly random, so it tends to read as texture rather than as a real edge, similar to the texture of skin or fabric. It is different from actual damage, a crease, a tear, a heavy stain, which does read as an edge and can distort as the frame moves. Grain and damage are easy to mix up by eye, and only one of them is worth fixing before you animate.
- Can I add colour to a clip after it has been animated?
- Not with any reliability. Colourising a single still is a solved, fairly well behaved process. Colourising five seconds of generated motion means getting consistent colour across every frame, which is a much harder problem and tends to look patchy or drift. If you want a coloured result, colourise the photograph first and animate the coloured file, not the other way round.