Colourising Before You Animate: A Decision, Not a Default
Colourising and animating are both generative steps, so doing both stacks two layers of invention on one photograph. When that trade is worth it, when the monochrome clip is the better result, and the order that avoids the worst surprises.
Colourising before animating sounds like an upgrade, the same way adding colour to anything old usually reads as an improvement. It is worth slowing down on that assumption, because colourising and animating are not stacking a fix on top of a photograph. They are stacking two separate acts of invention, and it is worth knowing that before you spend the time.
Two different jobs, both guessing
An animation model looks at one still frame and generates a plausible few seconds of motion from it. It has never seen what happened next, so it invents something reasonable. A colourising tool does something structurally similar with colour. It has never seen the actual shade of the coat in the photograph, the real colour of someone’s hair, the true paint on the wall behind them, so it assigns plausible colours based on patterns learned from millions of other photographs. Skin tends toward a narrow range. Skies tend to be blue. A dark garment could be navy or black or brown, and the tool picks one.
Neither step is wrong to take on its own. The problem is doing both in sequence. Colourise a photograph and then animate the colourised file, and the clip that comes out carries two layers of guesswork stacked on the original moment: a guessed colour and a guessed motion, each one moving the result a little further from what the camera actually recorded. That is worth saying plainly once, because it is the whole trade-off underneath the question, and it rarely gets stated as directly as it deserves.
When colour actually earns its place
None of this means colourising is a mistake. For a photo heading to family who will watch it once on a phone rather than study it on a large screen, the warmer and more casual feel a colourised clip carries is a real gain, and most viewers will never notice or care that the colours are invented. It suits a birthday message, a reunion slideshow, anything where the goal is a pleasant few seconds rather than an accurate record.
Colourising also earns its place when someone in the family actually remembers the missing detail. If you know the front door was red, or the dress was a particular green, a colourising pass followed by a manual correction to that one detail lands closer to the truth than either the plain monochrome or an uncorrected auto-colourised version. That is more work than most people will do for a five second clip, but it is the case where colour is worth the extra layer rather than just a default.
When the monochrome clip is the better artefact
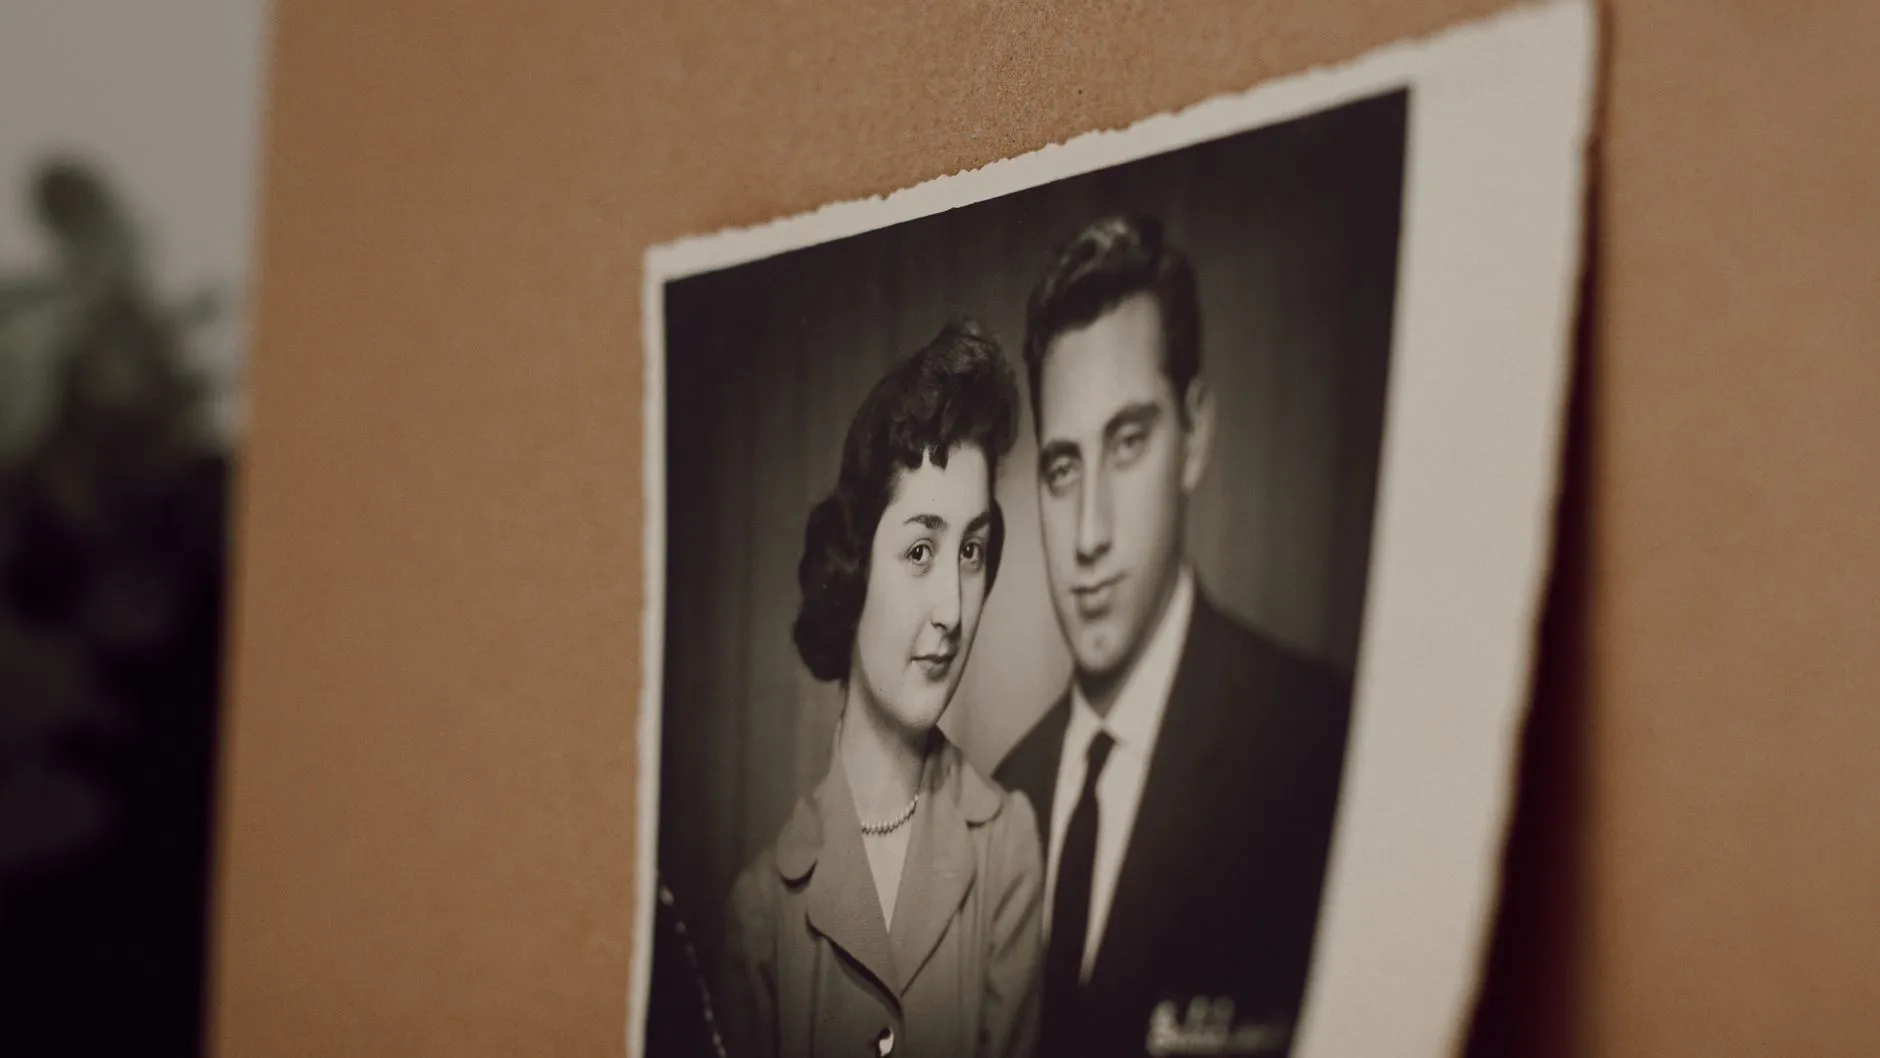
The reverse case is just as real. A studio portrait from the 1940s reads as exactly what it is, a photograph of its time, and colourising it can flatten that signal into something that looks like a slightly odd modern photo rather than an old one. If the photograph is being shared for what it is, a genuine period piece rather than a greeting, the untouched monochrome clip is usually the stronger result, and it costs nothing extra to get there.
Heavily faded or low-contrast prints are the other case worth naming. A colourising tool needs clean tonal information to make a confident guess, and a print that has lost most of its contrast gives it very little to work with. The result tends to be flat and uncertain, adding a second problem on top of a photograph that already had one. The full checklist for choosing a photo that will animate well covers contrast and sharpness in more depth, and the same limits apply whether you plan to colourise or not.
The faded colour photo is a different problem entirely
One case gets mixed up with colourising often enough to deserve its own paragraph. A colour photograph from the 1970s or 1980s that has gone orange, or a slide that has shifted toward magenta, was never black and white. It recorded real colour, and that colour has simply drifted with age. Correcting it back toward something closer to the original is colour restoration, not colourising. It is pulling out information the photograph already has rather than inventing information it never had, and it is a much safer step to take before animating, since you are not adding a layer of guesswork on top of the picture.
If you are not sure which case you have, look at the shadows. A true black and white photograph has no colour anywhere, including in the darkest parts of the frame. A faded colour photograph usually still shows a colour cast in the shadows even where the rest of the image looks nearly grey, and that is the tell that there is real colour information worth recovering rather than inventing. Our sister site covers this kind of colour and print restoration in more depth, and it is the right place to start if a faded print is what you are actually holding.
The order that avoids the worst surprises
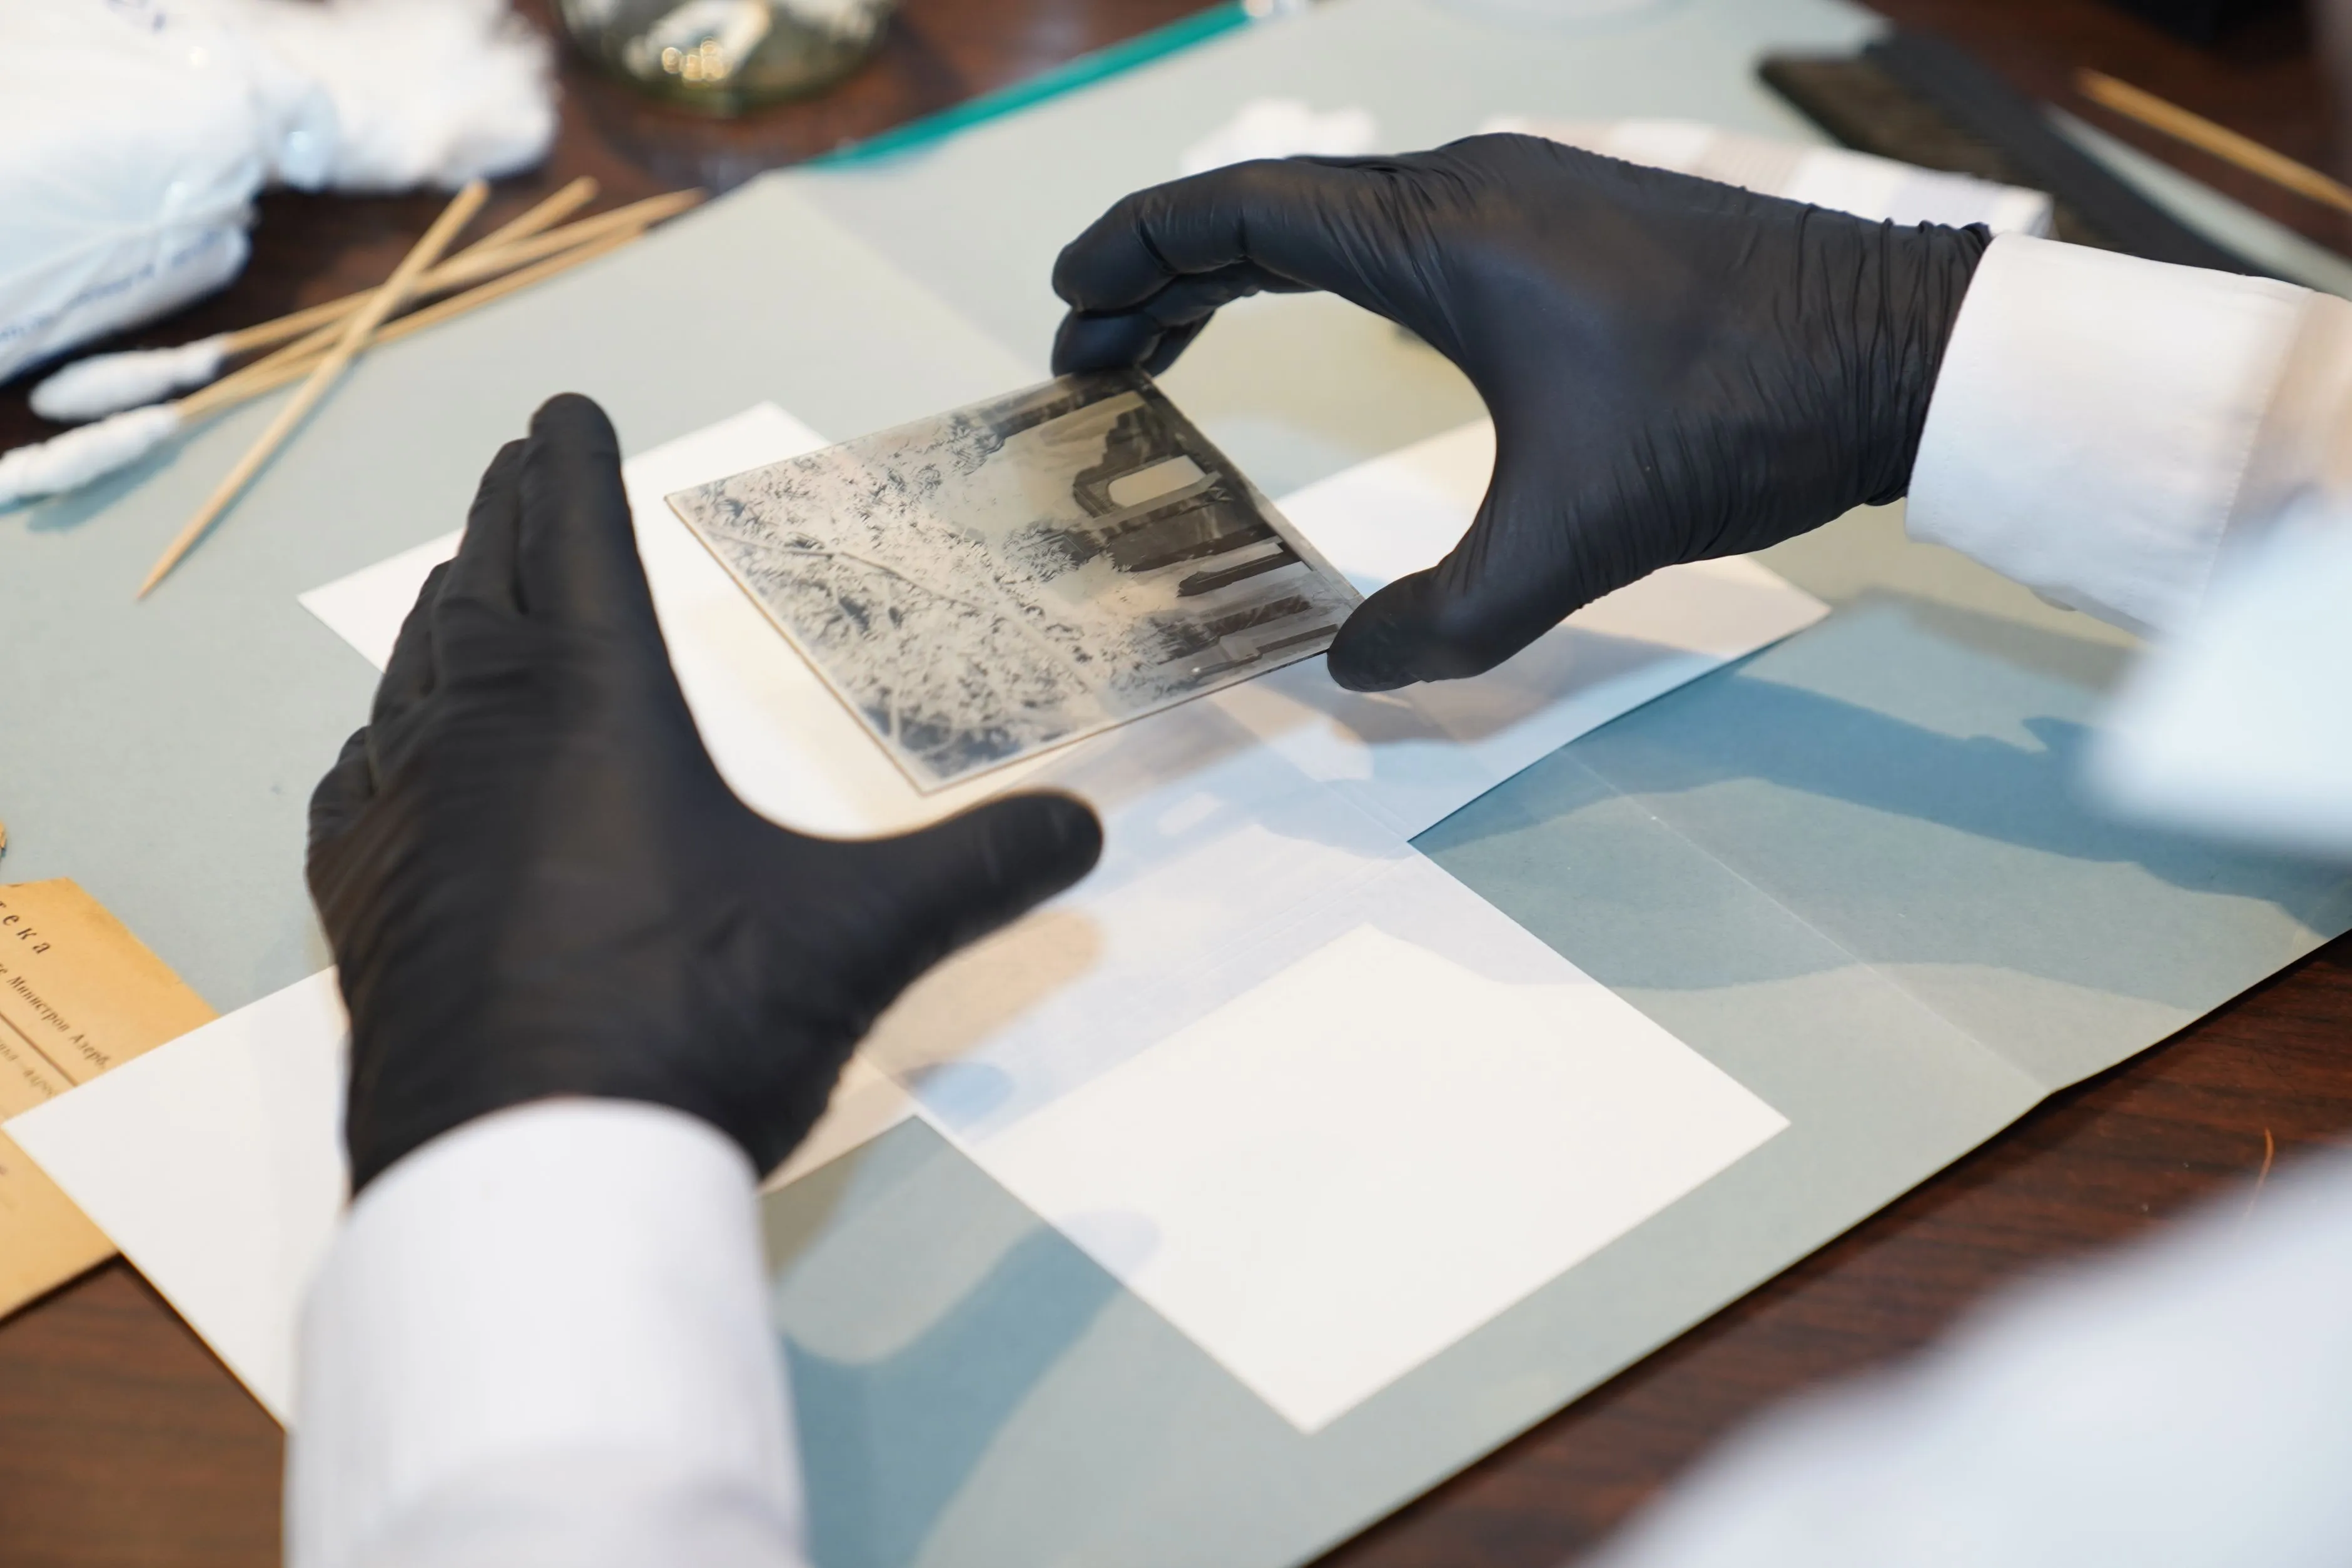
Whichever path you take, the sequence matters more than the individual steps. Repair and colour-correct the scan first, since a colourising tool applied to a damaged photograph paints plausible colour onto the creases and stains right along with everything else, making the damage harder to see and harder to fix afterward. Decide separately and deliberately whether to colourise, understanding it as a creative choice rather than a default upgrade. If you do colourise, do it to the still photograph, save that file, and animate it. There is no reliable way to add colour to a clip once it already exists, since holding consistent colour across every frame of five seconds of generated motion is a much harder problem than getting one still photograph right.
A close, evenly lit portrait is the easiest way to test either path. Waving and reading both ask very little of the model, small movements from a mostly still frame, which makes it easy to compare a colourised version against the original side by side without a more ambitious action muddying the comparison. If the underlying photograph is genuinely black and white rather than faded colour, what happens when you animate a black and white photograph covers the animation side of that question directly.
The honest position to hold through all of this: nobody is obligated to colourise anything. A clean, well repaired monochrome scan animates perfectly well on its own, and keeping both a monochrome and a colourised version costs nothing but a little disk space. Pick the one that suits where the clip is going, and do not mistake colour for an automatic improvement. It is a choice with a real cost, not a step you owe the photograph.
Common questions
- Should I colourise a photo before animating it?
- It depends what you want out of the clip. Colourising adds a second generative step on top of the animation itself, since a colourising tool is guessing at colours the photograph never recorded. That moves the result further from the actual photograph. Plenty of people still prefer the warmer feel of a colourised clip, especially for something being sent to family rather than studied closely, and that is a reasonable choice. It is just not a free upgrade.
- Is colourising the same as fixing a faded colour photo?
- No, and mixing them up is the most common mistake here. A faded colour photograph already recorded real colour information, it has just drifted, usually toward orange or magenta as the dyes age. Correcting that is restoring what was recorded. Colourising a true black and white photograph is inventing colour that was never recorded at all. The first is a repair. The second is a creative decision.
- What order should I do this in?
- Repair and colour-correct the scan first, decide separately whether to colourise, do that to the still photograph if you want it, then animate the final file. Colourising a damaged scan paints colour onto creases and stains along with everything else, which makes them harder to see and harder to fix afterward. Animate last, always, since there is no reliable way to add or fix colour once a clip already exists.
- Can I add colour to a clip after it has already been animated?
- Not with any reliability. Colourising one still photograph is a well behaved process. Colourising five seconds of generated motion means holding consistent colour across every frame, which is a much harder problem and tends to look patchy or drift partway through the clip. If you want a coloured result, colourise the photograph and animate that file, not the other way round.