Screenshots, reposts, and photographs of photographs
The most common bad input is not a bad photograph, it is a copy of one. What a screenshot loses, how to reshoot a print properly if the original is gone, and the one case where a photo of a photo is genuinely fine.
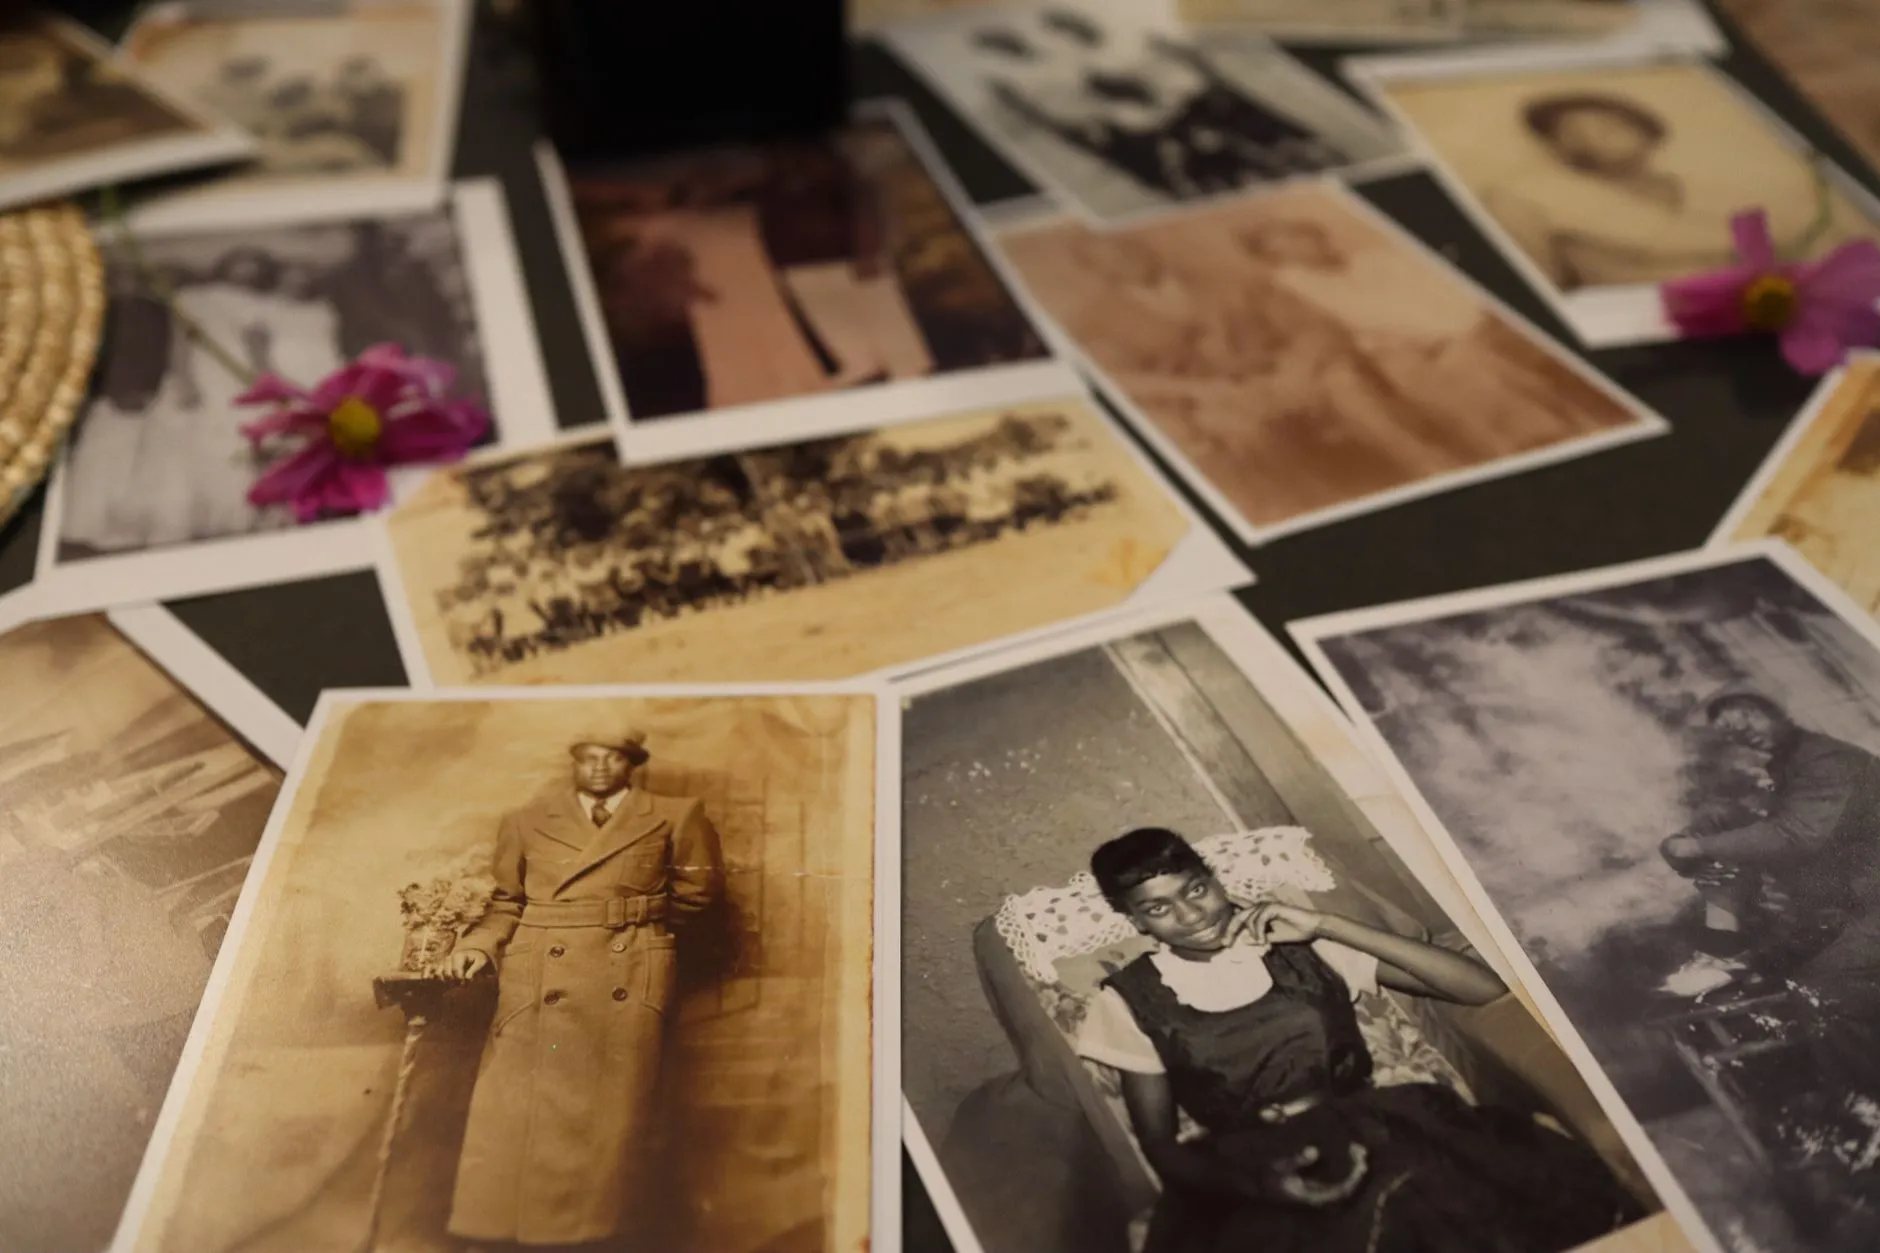
The most common disappointing result on this site does not start with a bad photograph. It starts with a bad copy of a perfectly good one. A screenshot of someone else’s post, a photo re-saved out of a messaging app for the third time, a phone held up to a framed print on the wall: none of these are the photograph itself, they are a photograph of a photograph, and the model has no way of knowing that. It just sees whatever detail survived, and often that is not much.
Why a screenshot is the worst common input
A screenshot has usually been through more processing than people expect before it ever reaches the app. Someone took the photo. They posted it somewhere, and the platform resized and recompressed it to fit its own layout. You screenshotted that post, which recompressed it again and sometimes cropped in whatever the platform’s interface added around the edges. What arrives in your camera roll is a third or fourth generation copy of the original file, and the compression at each step throws away real information that cannot be recovered afterwards, no matter how sharp the screen looked when you took it.
The tell is usually visible if you look closely: soft blocky edges around anything with contrast, faint horizontal banding, sometimes the ghost of a caption or a username along one side. None of that is fixable after the fact. The fix is finding a better copy, not editing the screenshot. Ask whoever posted it for the original file, check your own camera roll or cloud album for the source, or look for the same photo in a family group chat where it may have been sent as an actual image rather than viewed as a post. A second-generation copy tracked down properly is worth far more than any adjustment made to the screenshot itself.
Reshooting a print, if that is genuinely the only option
Sometimes there is no digital file anywhere and the only version left is a print, framed or in an album, with no negative and no scan. In that case a careful reshoot is a real option, and doing it properly matters more than almost anything else in this article.
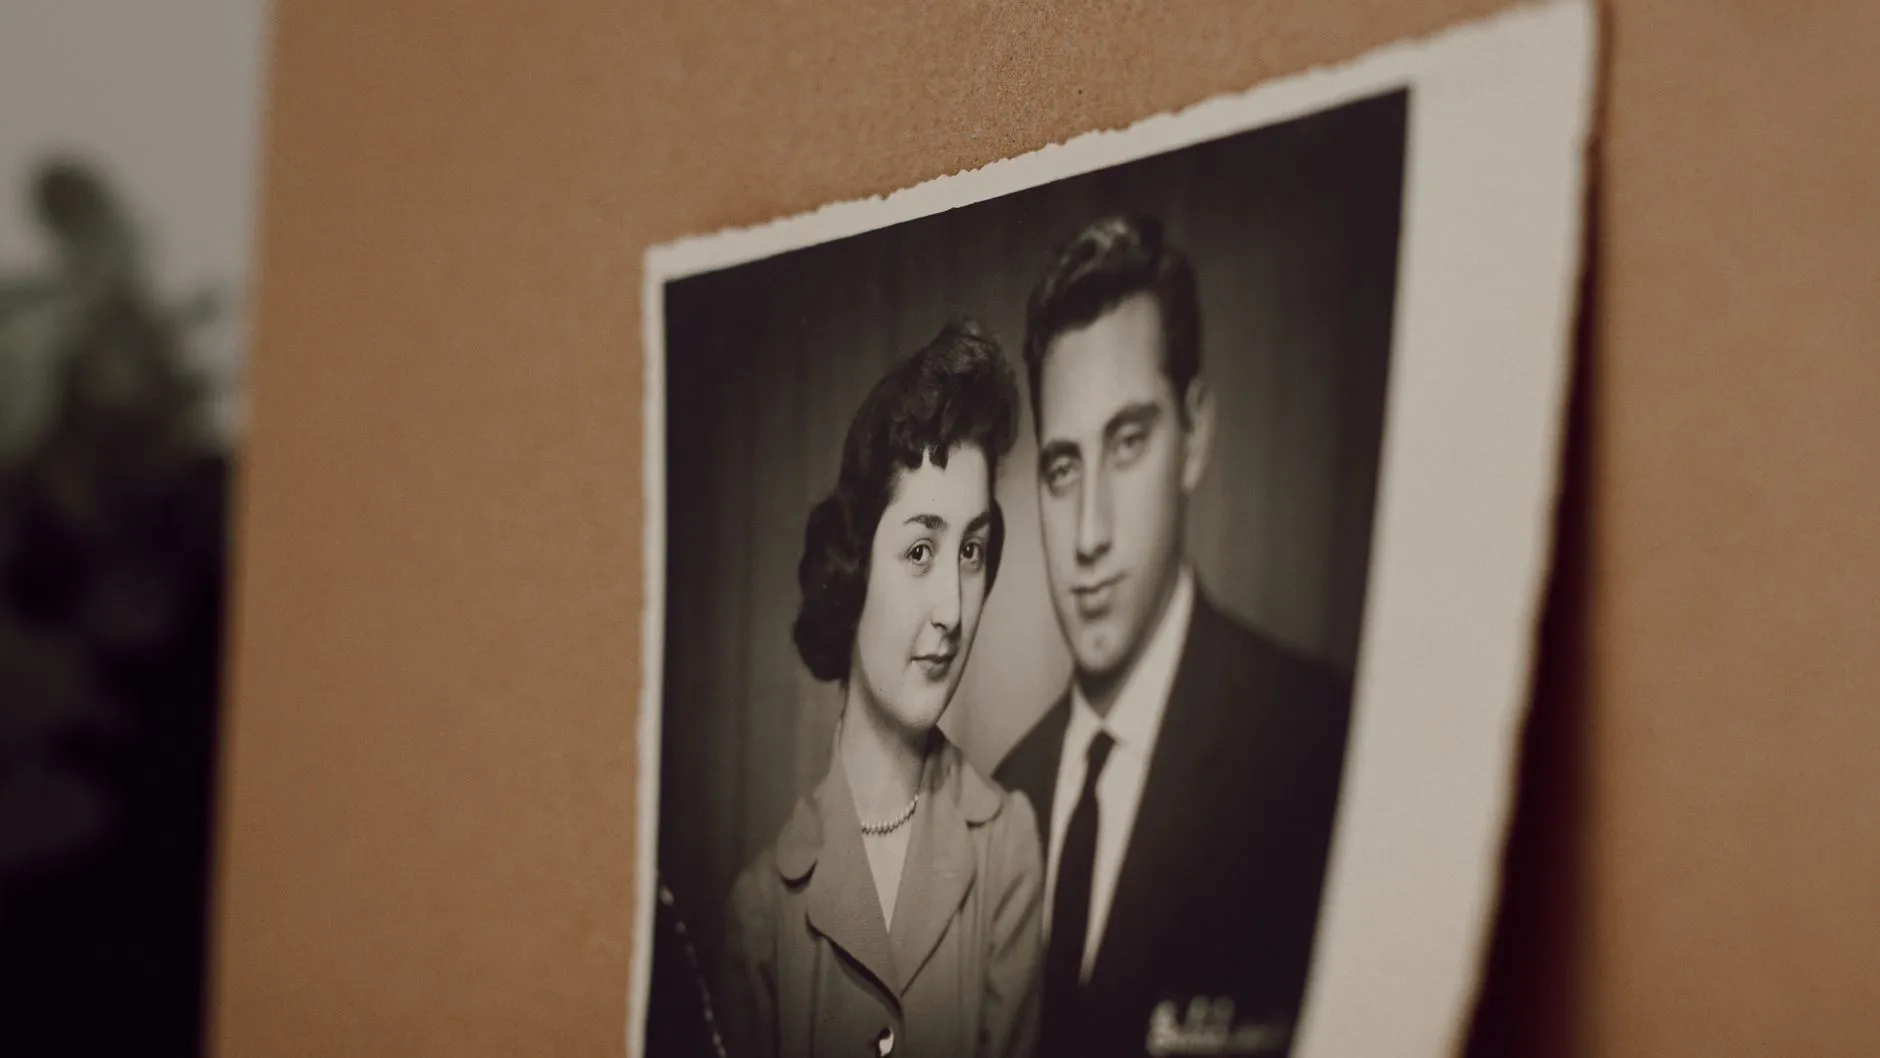
Shoot the print flat and square to the camera, not at an angle. A print photographed off-axis stops being a rectangle in the frame, it becomes a subtly skewed shape, and the model reads that geometry as part of the picture rather than as an artefact of how it was captured. Squaring up to the print, with the camera parallel to its surface, avoids that entirely.
Use even daylight rather than a flash or a single overhead lamp. A flash bounces straight back off a glossy print or glass and leaves a bright patch exactly where the light hit hardest, usually somewhere unhelpful like the centre of a face. Overhead light does something similar at a smaller scale. Diffuse daylight from a window, with the print held or laid flat facing it, tends to give the most even result without a hot spot anywhere.
If the print is behind glass or a plastic sleeve, take it out if you possibly can. Glass adds its own reflection on top of whatever light you are already managing, and it is very hard to shoot around entirely even with careful positioning. A print removed from its frame and shot directly, flat and in even light, is the cleanest version of a reshoot you can produce without any special equipment.
When a photo of a photo is genuinely fine
This is not a case that always fails. A reasonably large print, shot flat, square, in even light, with no flash and no glass in the way, is a solid starting point. The two things that actually cause trouble, glare and geometric distortion from an angled shot, are both avoidable with basic care rather than special equipment. A phone held steady and level over a print laid on a table in daylight will often do the job.
What tends to fail is the rushed version: a print photographed at arm’s length, off to one side, indoors, under a ceiling light, often still in its frame. Every one of those choices adds a small problem, and they compound. None of them is difficult to avoid once you know what to look for, which is the whole point of doing the reshoot deliberately rather than quickly.
What to do with the reshoot once you have it
Treat a careful reshoot the same way you would treat any other photograph before animating it: check the crop against what the action needs, and check that the face is sharp and evenly lit. The full method for choosing a photo that will animate well covers that ground, and none of it changes because the source happened to be a print rather than a digital file.
If the print itself has real damage under all that, a crease, a tear, fading that a careful reshoot cannot undo, that is a separate problem from the reshoot technique and worth solving first. Our sister site has a practical guide to restoring an old or damaged photo before you animate it, and the order matters: repair the scan, then animate the repaired file, not the freshly reshot but still damaged print.
For a first test of a reshot print, a small, forgiving action is the fairer comparison. Waving asks very little of the model, and photoshoot pose works from the body’s outline rather than depending on fine detail, which makes both reasonable choices for judging whether your reshoot actually held up before trying anything more ambitious on it.
Said plainly
The model is generating a plausible few seconds of motion from whatever detail survived in the file you gave it, and that is exactly as true of a careful reshoot as it is of the original print. A screenshot has usually lost real information at every step between the original photograph and your camera roll, and that loss does not reverse. A photo of a photo, done carefully, flat, square, evenly lit, is a genuinely fine way to bring an otherwise digital-free print into the app. Done quickly, at an angle, under a flash, it is not, and it is worth the extra minute to tell the difference before you generate.
Common questions
- Can you animate a screenshot of a photo?
- You can try, but a screenshot is usually the weakest version of a photograph you could feed it. It has typically been resized once by whatever app displayed it, compressed again by the screenshot itself, and sometimes cropped by a platform's own layout. Detail lost at each of those steps does not come back. If the same photo exists anywhere else, a message thread, a cloud album, an email attachment, that copy is almost always better than the screenshot.
- Is it ever fine to animate a photo of a photo?
- Yes, when the print is reasonably large, the phone is held flat and square to it, the light is even, and no flash was used. That combination avoids the two things that actually cause trouble, glare bouncing back off the surface and the geometric distortion of shooting at an angle. A tidy, flat, evenly lit reshoot of a good print can hold up fine.
- Why does a photo of a photo look distorted after animating?
- Usually because the reshoot was taken at an angle rather than square on. A print photographed off-axis is not a rectangle anymore, it is a trapezoid, and the model has to work with that skewed shape as if it were the real one. Combined with glare from an overhead light or a flash, the model is often reading distortion and reflection as part of the picture itself.
- What if the original photo or file is genuinely gone?
- Reshoot the print as carefully as you can: flat on, straight ahead, in even daylight with no flash, and with any glass or plastic sleeve removed if that is possible. That single reshoot, done properly, is usually a large improvement over whatever screenshot or repost has been circulating, and it is worth doing once rather than animating the worst available copy.